You are here:
Home » Travel Gear & Tech » Amplify Your Smartphone Photography with Pixter Lenses
This article may contain paid links where we make a small commission for purchases you make from links that you click from this article. For more details, read the disclosure page.
I love my iPhone. It’s my workhorse when I’m travelling and more and more I’m finding that sometimes it’s just a lot easier to take my phone out of my pocket and snap a photo. Thing is, while the camera itself is good, it’s not like my mirrorless camera where I can switch lenses for specific scenarios.
Sometimes you need a wide angle lens, sometimes you need to be able to zoom in, sometimes you have to go full macro. With cameras you can do that. With your phone, you can’t unless you have something like Pixter where you can quickly clip on a lens to give you instant bonus effects without compromising your photo quality.
How many of you have run into situations where you want to take a photo of something but the landscape is so large that your phone’s camera is just way too zoomed in? Or how about when there’s a close up of an object that you want to take but your camera just isn’t able to focus? That’s when you know your phone has hit its limit.
Our smartphone cameras simply weren’t designed for all scenarios because they had to build a lens that has a fixed length of zoom that would cover most cases, a specific aperture, and minimum focusing distance. With cameras like my Olympus M4/3, I have the ability to switch lenses whenever it makes sense but with a phone you can’t exactly do that…or can you?
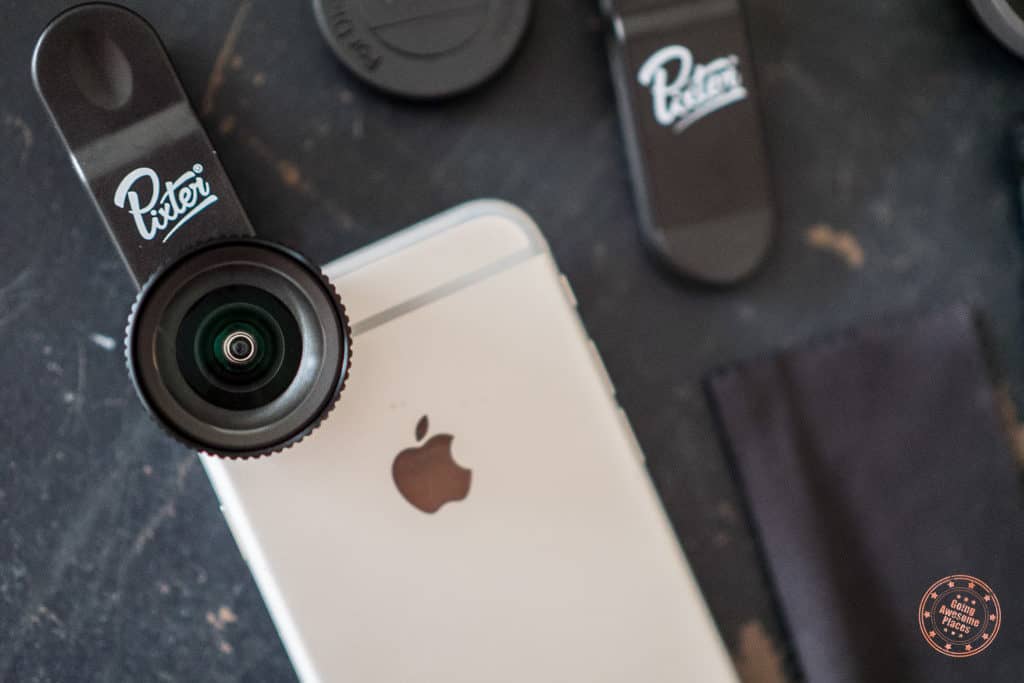
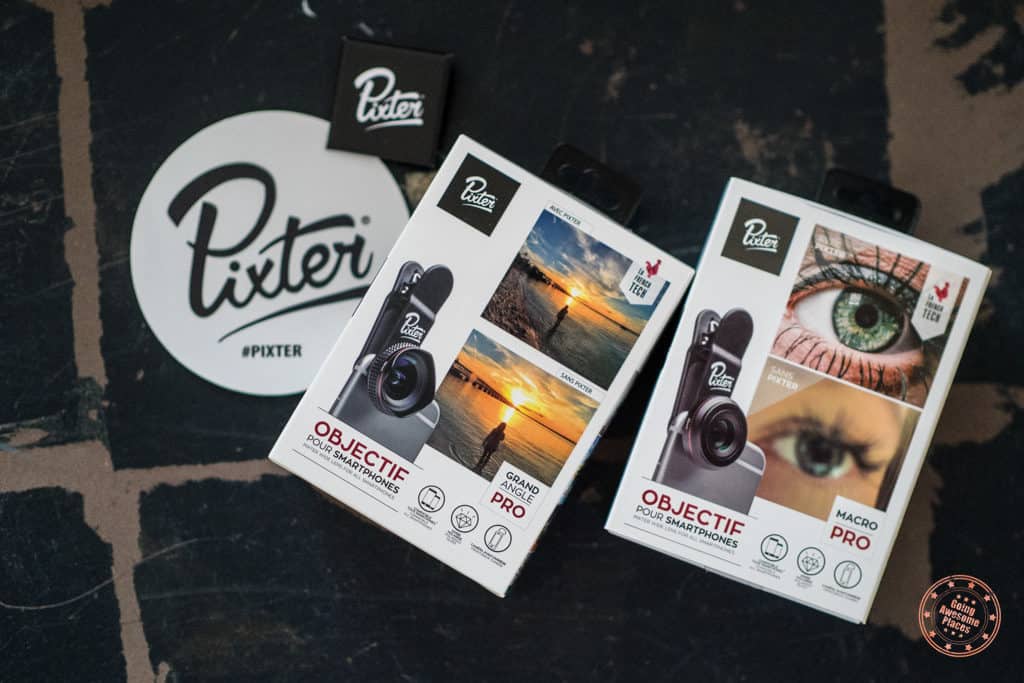
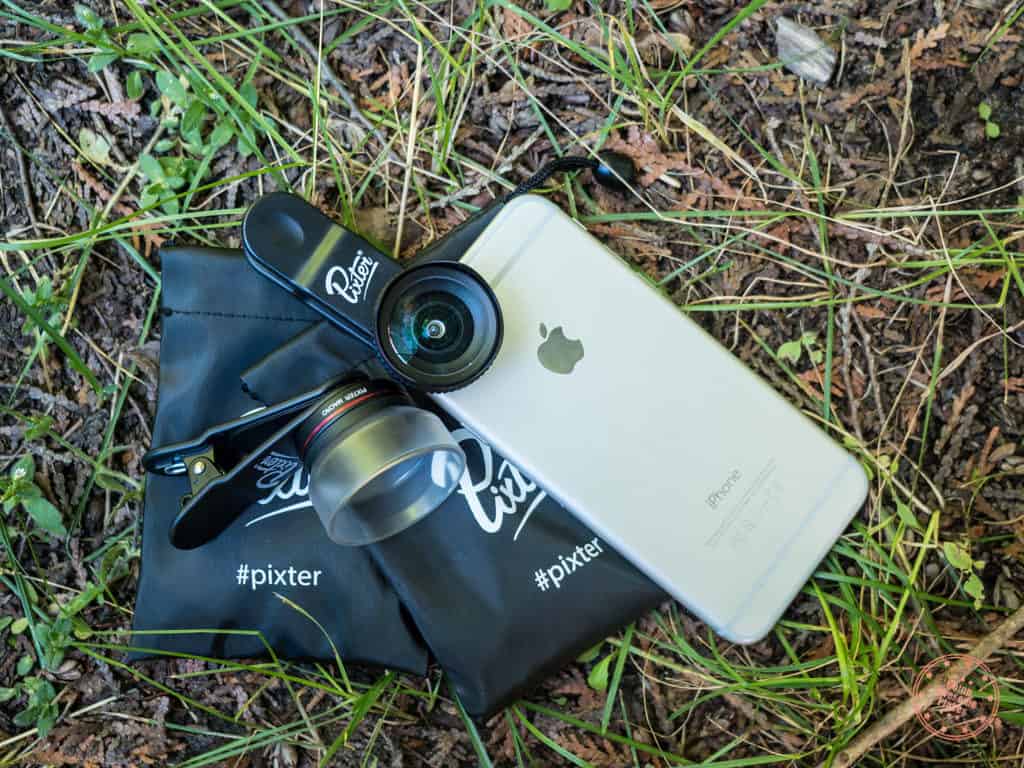
Pixter
I’ve seen clip on lenses for smartphones on the market for awhile but I was intrigued by what Pixter had to offer because of their build quality and supreme optics. So I decided to take two of their lenses out for a spin on a recent trip and here’s what I learned.
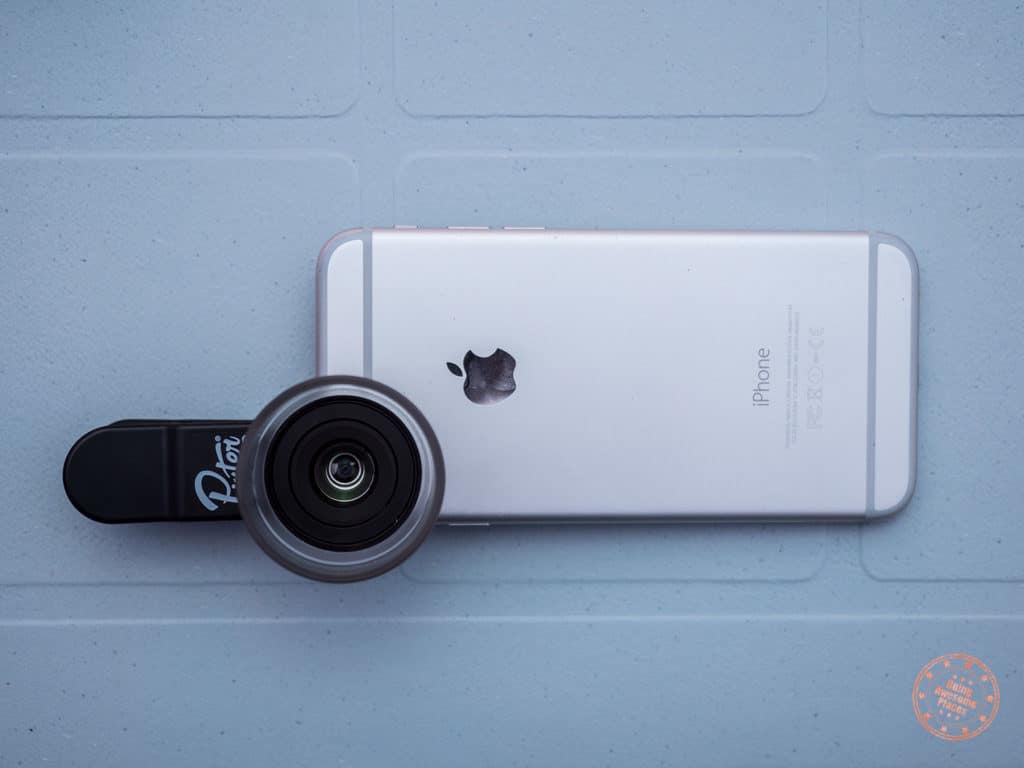
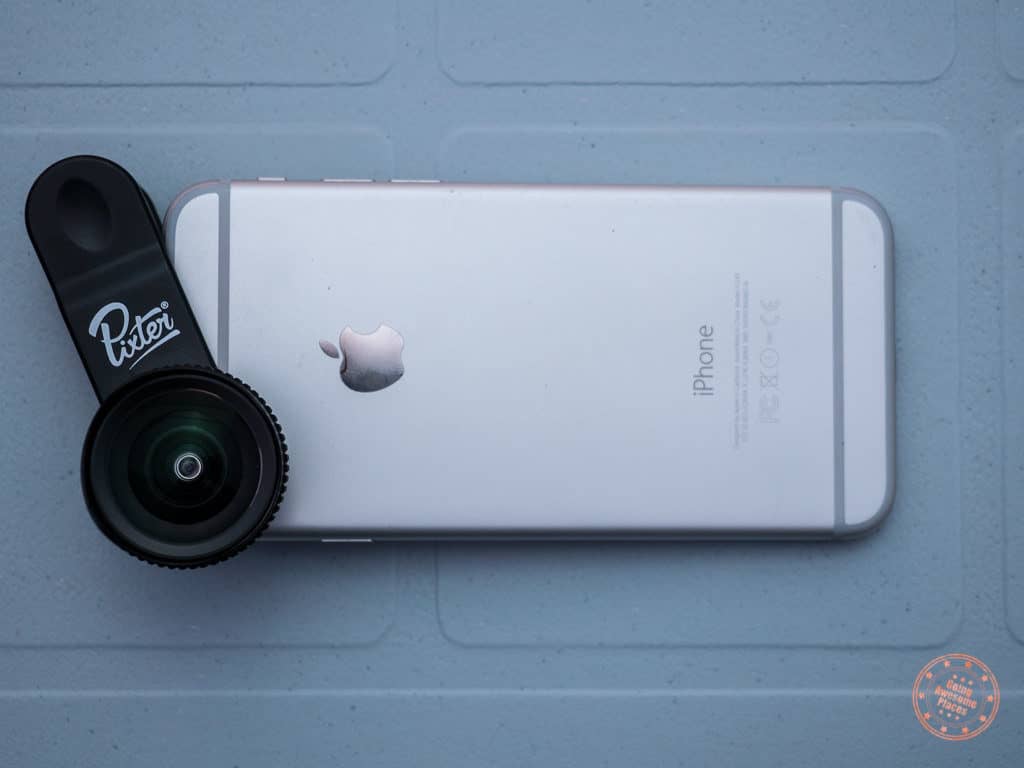
Super Wide Angle
I took a ton of samples at our campsite but I think what demonstrates the true power of having a Wide Angle Pro attachment for the phone is just how much you’re able to capture in view without having to stand really far back.
The difference is quite remarkable when you think about it because you literally get 2x the view without any serious fisheye distortion at the edges.
These are photos straight out of the phone without editing or post-processing. It was a bit of a gloomy day as you can see!
Standard iPhone 6 Photo straight from camera
Photo from the exact same spot but with the Pixter Wide Angle Pro on
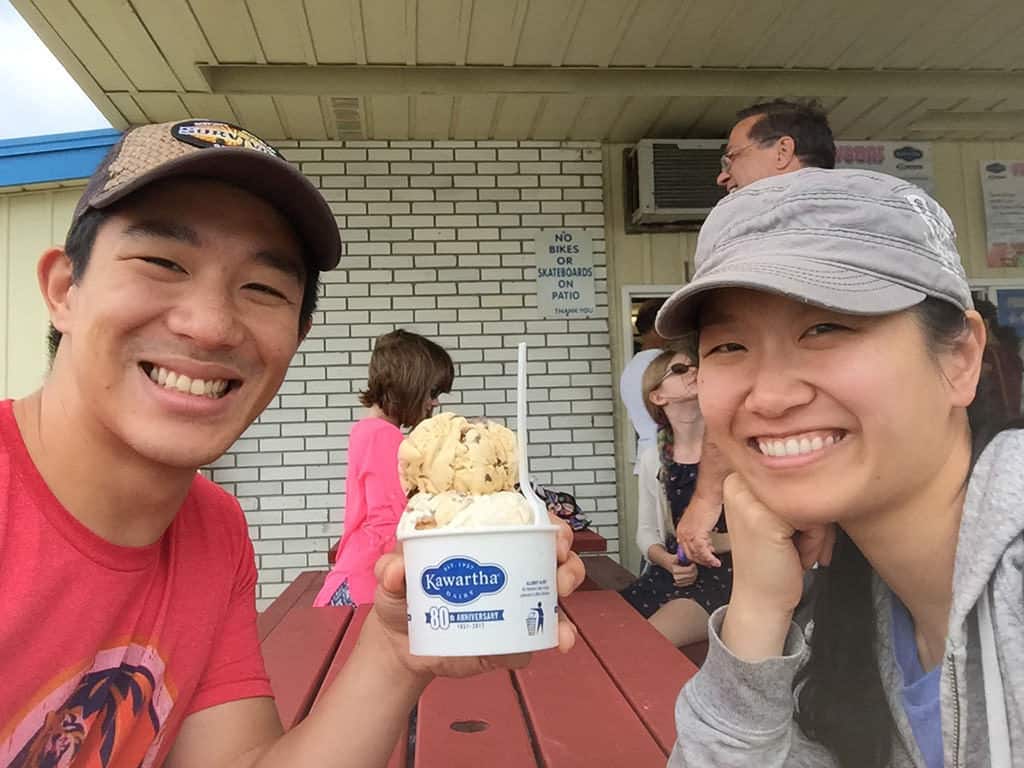
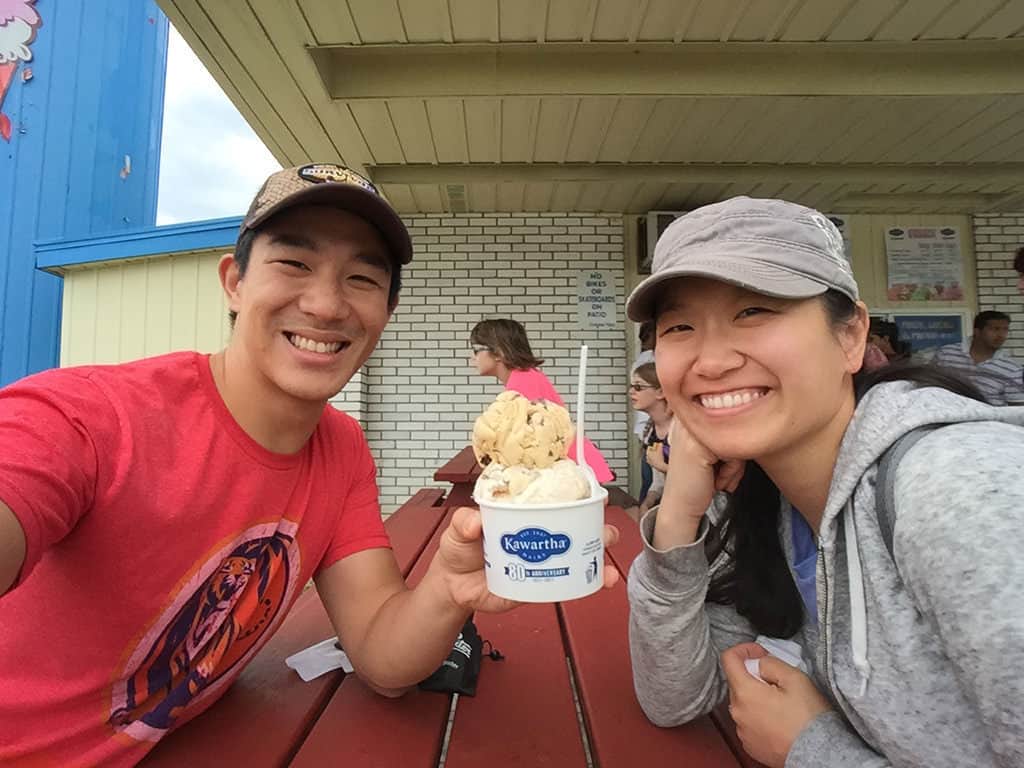
Another example is this selfie we took with the Pixter flipped around onto the front camera. See the difference!
Specs of the Wide Angle Pro
This lens is equipped with a steel case that contains 5 maximum clarity lenses.
The polarized lenses are anti-reflective and guarantee an excellent transmission of light.
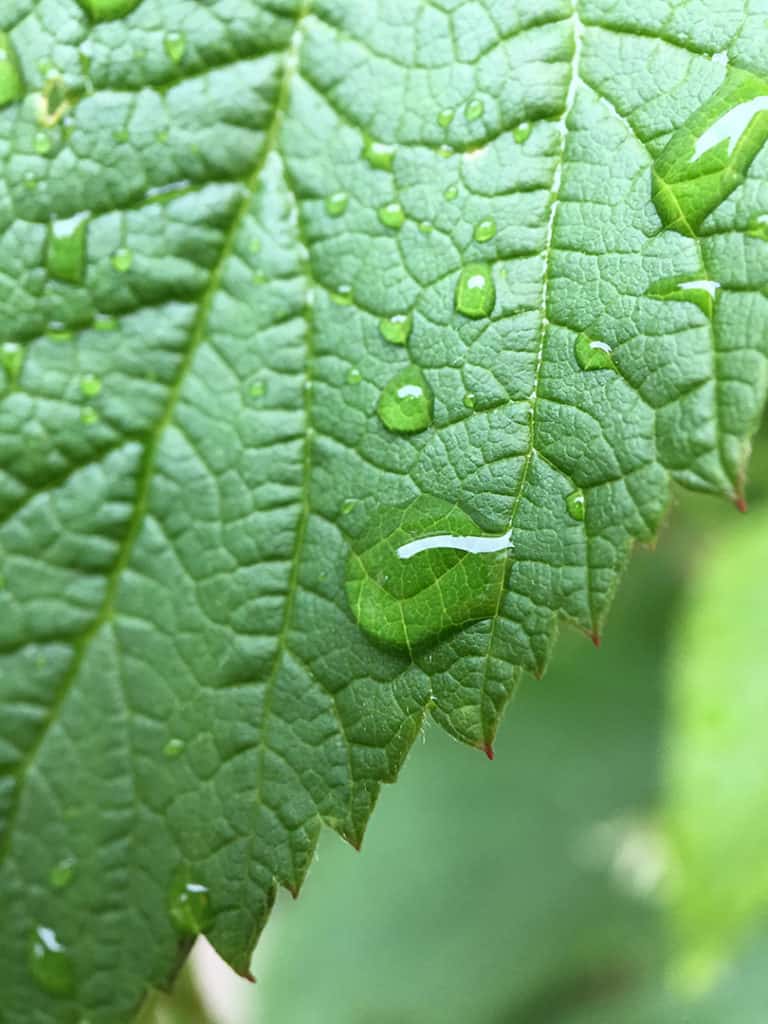
Macros are quite the specialized lens but I wanted to try out Pixter’s Macro Pro. These are the kind of shots where you can get hyper close to objects like you would with a magnifying glass. Don’t even think about trying one of these shots with your phone because the optics just wouldn’t allow your phone to focus on something that close.
While this was the more difficult of the two lenses to use, when you do get it going, it’s almost like you’re entering a whole new world. Just check these 5 shots that I took.
One thing you have to realize with this lens is that you have to be super close to the object to the point where it almost feels like the lens is almost touching it. The lens hood/diffuser that it comes with is a nice touch but I’d say that in some cases, it almost got in the way of things because I felt that I had to get in even closer. With the diffuser as well, it can create shadows with the phone so you need to be aware of the lighting conditions.
The macro takes a bit of practice (and steady hands) to master but once you get it right, the shots are pretty amazing.
Specs of the Macro Pro
The Pixter Macro Pro lens allows you to exceed the capabilities of your smartphone’s camera sensor by taking, never before seen, quality and detailed photos.
The lens also has a diffuser to place on the lens (if required) to balance the light and get a crisp focus in the blink of an eye.
Unlike the Pixter Ultra Macro lens, the Pixter Macro Pro lens allows you to make Macro photos with a longer focal length. Ideal for photos of flora or insects.
Each of the lenses come in a nicely bundled box which includes the lens with a cap on each end, the Pixter clip for the phone, microfibre cloth and pouch.
In no time I was able to get it running because all of you have to do is remove the lens caps, pop on the lens hood in the macro case, screw on the lens onto the clip, and then you’re on your way.
Honest Review
So what did I think about these Pixter products?
What I loved
Ability to capture photos you’d never dream of doing with your phone’s native camera lens
High quality construction with proper multi-lenses
You can the Pixter clip on both sides of your phone. This means if you need a wider angle perspective for a selfie, just flip the Pixter around and you’re good to go
The silicone pads on the Pixter make sure your phone is safe from scratches
What could be improved
Since this is a one size fits all in terms of phone, you do have to always make sure that your camera lens lines up to the opening in the Pixter lens. If you’re not careful, it can be out of alignment which results in distortion
I couldn’t use the Pixter with my Apple leather case on so it was slightly annoying to have to take off my case every time. Now if you run your phone naked, you won’t have this issue
I did find that the grip on the clip was often not strong enough. Vertical mount seems the obvious choice at first but I did notice that it would often shift around. Towards the end, I went with more of a slanted method so the top end of the clip would have a place to sit on the phone to stabilize it
With the Wide Angle Pro I did notice some distortion at the edges. These aren’t fish eye distortions but I found that it just wasn’t as crisp. That said, it may have been because of user error where the lens wasn’t fully aligned
Vertical mount methodSlanted mount method
Get the Starter Pack
If you’re interested in these two lenses, there’s the Starter Pack available which includes the Pixter Super Fisheye lens, the PixterWide Angle Pro lens, and the Pixter Macro Pro lens.
William Tang is the Chief of Awesome behind the award-winning Going Awesome Places which is focused on outdoor adventure, and experiential travel. His true passion lies in telling stories, inspiring photography and videos, and writing detailed itineraries and travel guides. He is a member of Travel Media Association of Canada (TMAC), Society of American Travel Writers (SATW), Adventure Travel Trade Association (ATTA), and Travel Massive. He has also been featured in publications such as Reader's Digest, Entrepreneur, Men's Journal, and Haute Living. Make sure to learn more about William Tang to find out his story and how Going Awesome Places started.


Joie Gahum says
Good lens! You might also want to try roadeavour lens. They are pretty good!
Will Tang says
Thanks Joie! I’ll check em out :)