Let’s face it, finding a good camera backpack is hard to find. Now take that difficulty and multiply it by 10 when you need something that’ll be able to handle the rough outdoors and overnight camping gear.
For the longest time, I had kept my eye on a company called f-stop Gear, focused on adventure photography gear. In a lot of ways, that’s the type of photography I love – the adventure in travel. While definitely on the high end as gear is concerned, they always had a great reputation amongst photography forum guys and was always reviewed very well.
Travel photography reads
- Hiking Inca Trail in photos
- Best locations for photography in Prague
- Itinerary for Zion National Park and Horseshoe Bend
- What to pack for New Zealand including camera gear
How to find the best deals in travel?
- Hottest deals – Bookmark the frequently updated travel deals page.
- Car rentals – Save the most money through car rental coupon codes.
- Hotels – Use corporate codes or get Genius 2 tier with Booking.
- Flights – Have you ever heard of the “Everywhere” feature?
- Insurance – Make sure you’re covered for all of your adventure activities with the best travel insurance.
In This Article
Finding f-stop backpacks in store
I never thought I’d get one until I randomly stumbled upon a store in Hong Kong that stocked it. I was in the Mong Kok area and my favorite camera gear building called Sim City (星際城市, 47-51 Shantung St, Hong Kong). The store, Tin Cheung had a bunch of f-stop gear on the shelf and then the gear lust juices started flowing.
I didn’t make a purchase that first visit, but I couldn’t hold myself back from visiting again. Eventually I purchased the Loka in Malibu Blue from the Mountain Series, a shallow medium ICU, 4 gatekeeper straps and a Navin. I’ll get into what these are in a sec. I came away like a kid out of a candy store and for the rest of my trip to Hong Kong, I used the backpack. The big reason around this was that I knew I’d be making an outdoor trip in a few months and that I would save on shipping, taxes, prices, currency exchange and wait time by buying it straight from the store in Hong Kong.

Fast forward a few months later for the photography and hiking trip out to Utah and Arizona, I used the Loka exclusively. It was through this trip that I really got a chance to push the backpack to its limits and really get an idea of what it’s capable of.
Overview of the gear
So it probably makes sense to first introduce the actual bag and the various add ons that I purchased. Let’s do that first.
The backpack
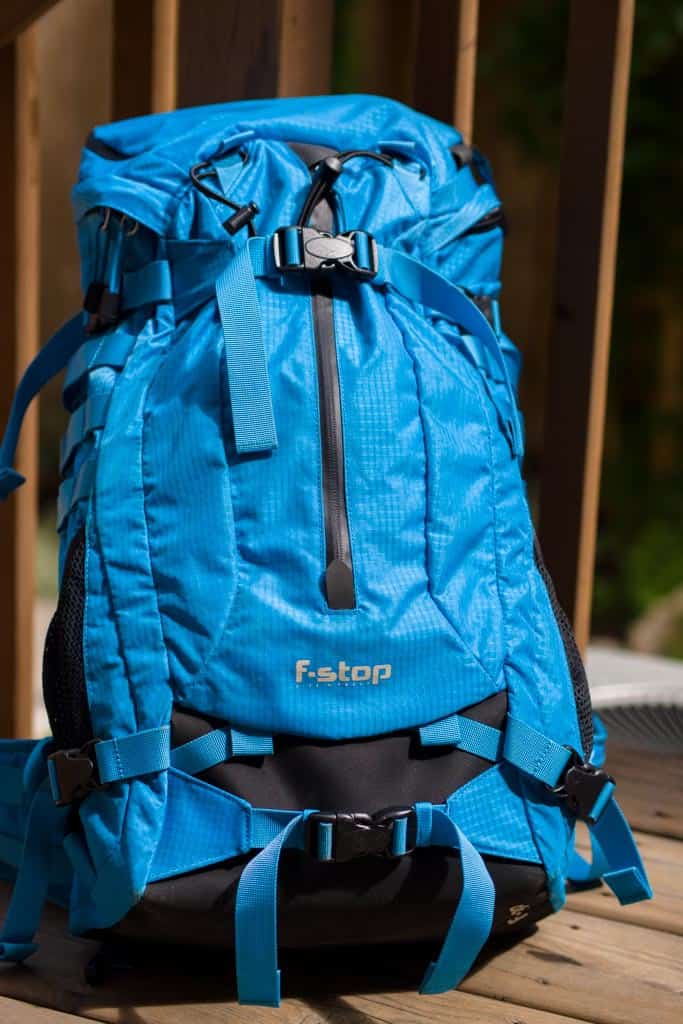
This was Loka is f-stop gear’s entry into mountain backpacks. They also have the Guru and Kenti in the Mountain Series but I would consider those day backpacks more for street photography.
A lot of things have changed since this was first released but f-stop has gone through many new iterations of these backpacks including the lighter Loka UL, and now Tilopa, Ajna, and Shinn.
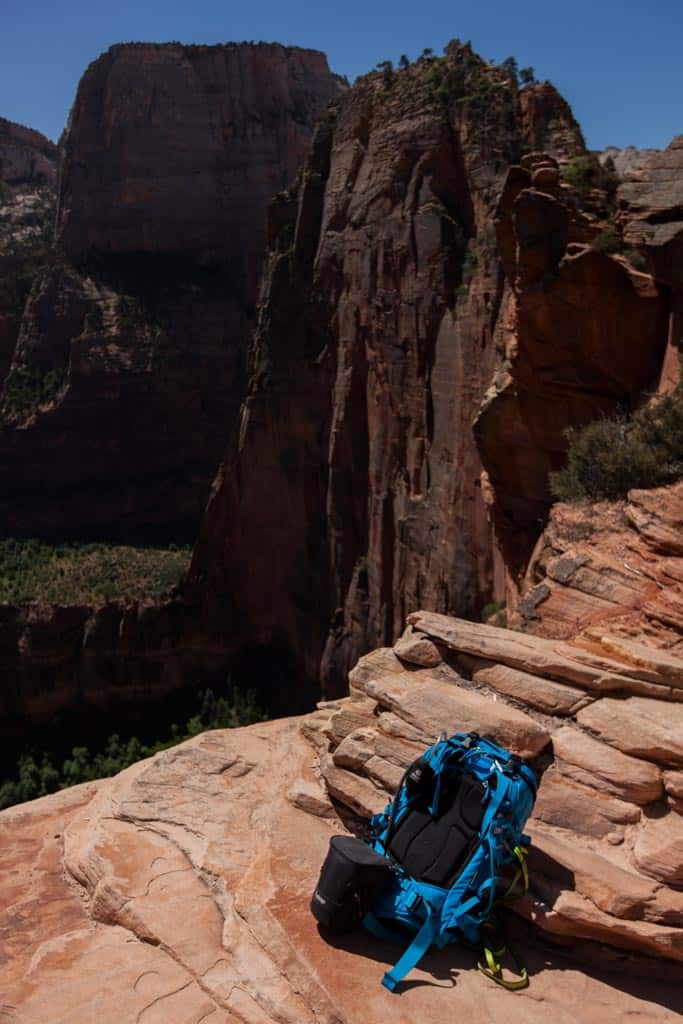
This bag is in a beautiful Malibu Blue. The color does stand out but that perfectly jives with all my outdoor hiking gear. I’ve never really seen any other camera bag in this vibrant blue. Love it!
Specs
- 37 liter capacity
- By itself, 1.56kg/3.45lbs
- Meets international carry on size specifications
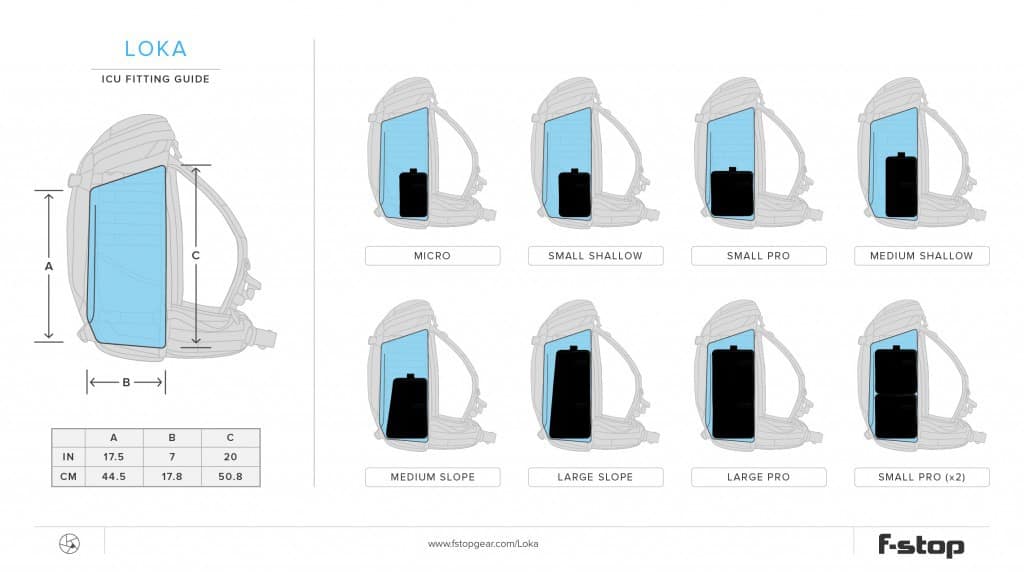
- Designed to fit up to a Large Pro ICU
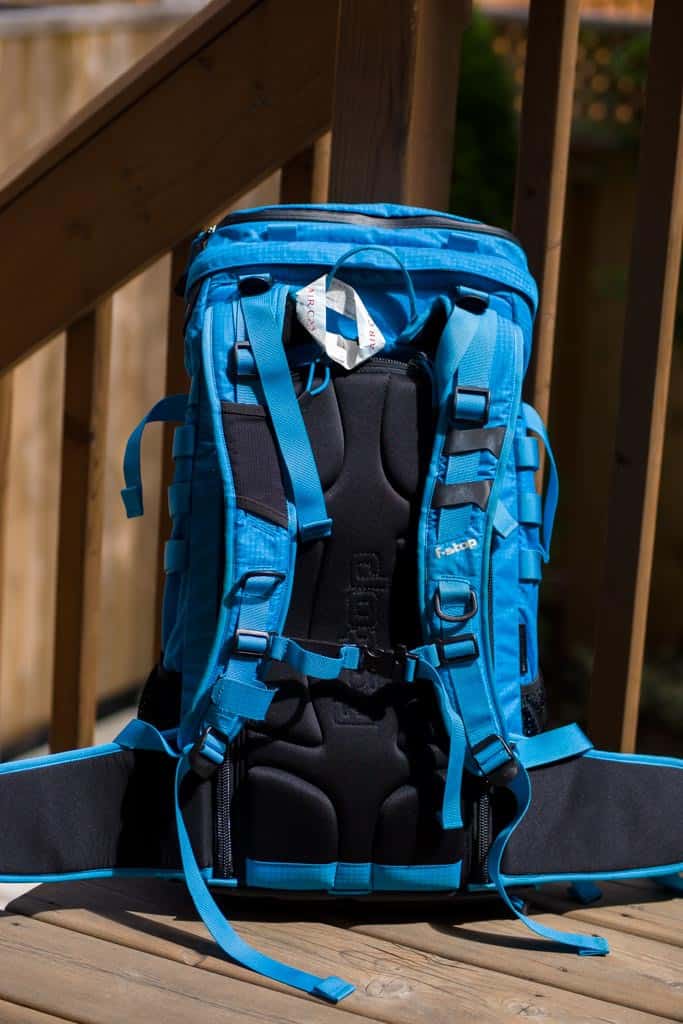
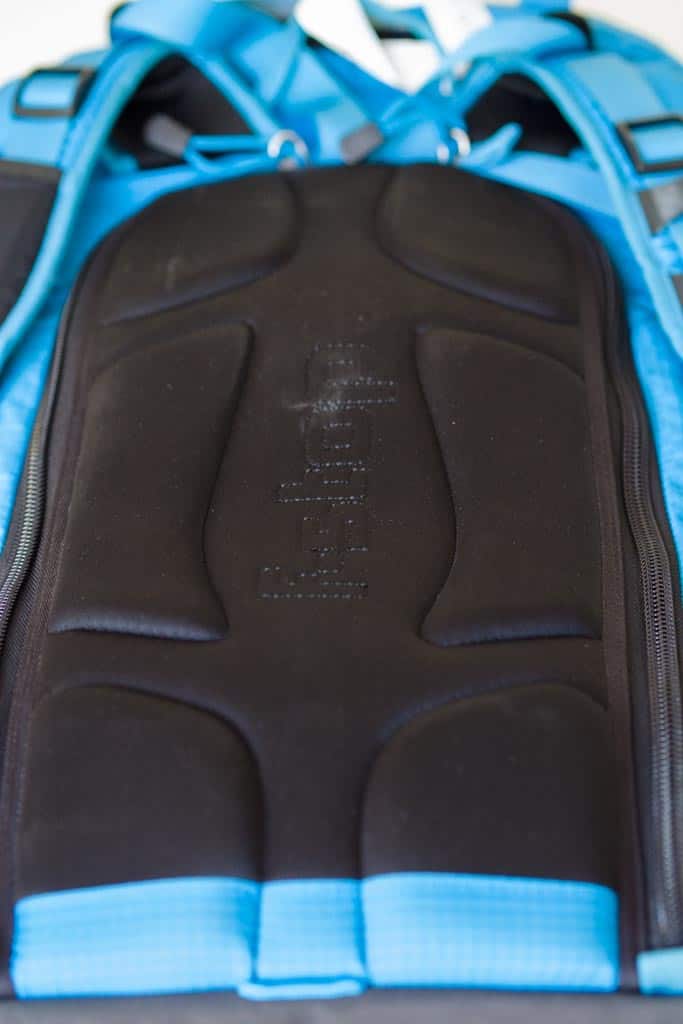
- Aluminum internal frame on the back side to keep everything supported and to distribute the weight load
- EVA padded waist and shoulder pads for comfort
- DWR treated, 330D double Ripstop Nylon with 1500mm Polyurethane coating which really means it’s built like a tank and will only rip under crazy circumstances
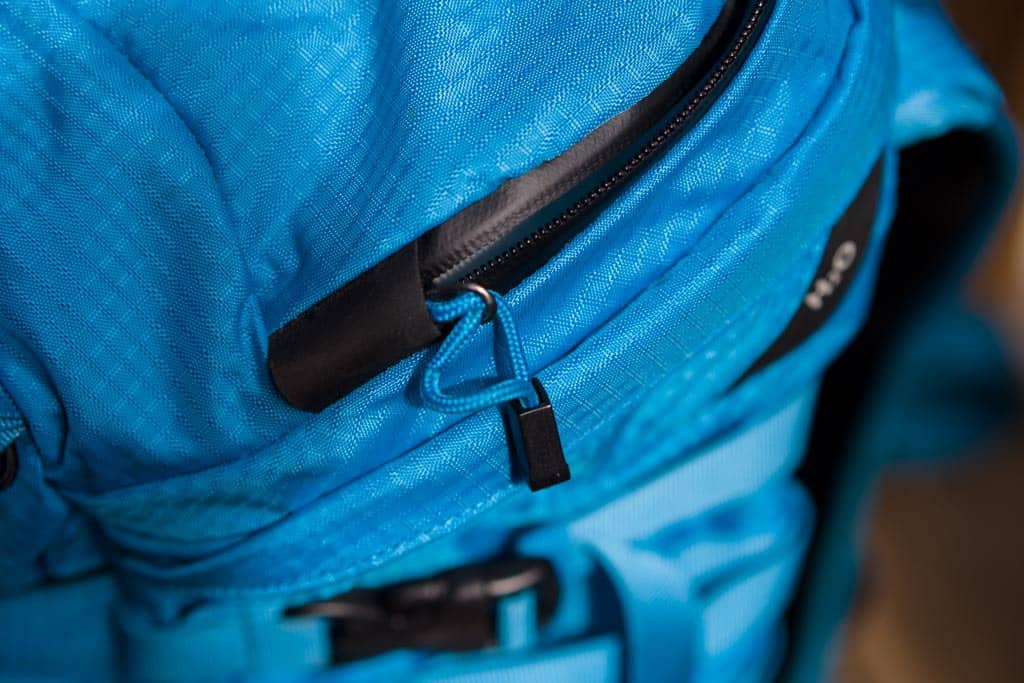
- Heavy duty zippers
- Can fit up to a 13″ laptop
- Has a spot for your hydration bladder and hole for the tube to come out
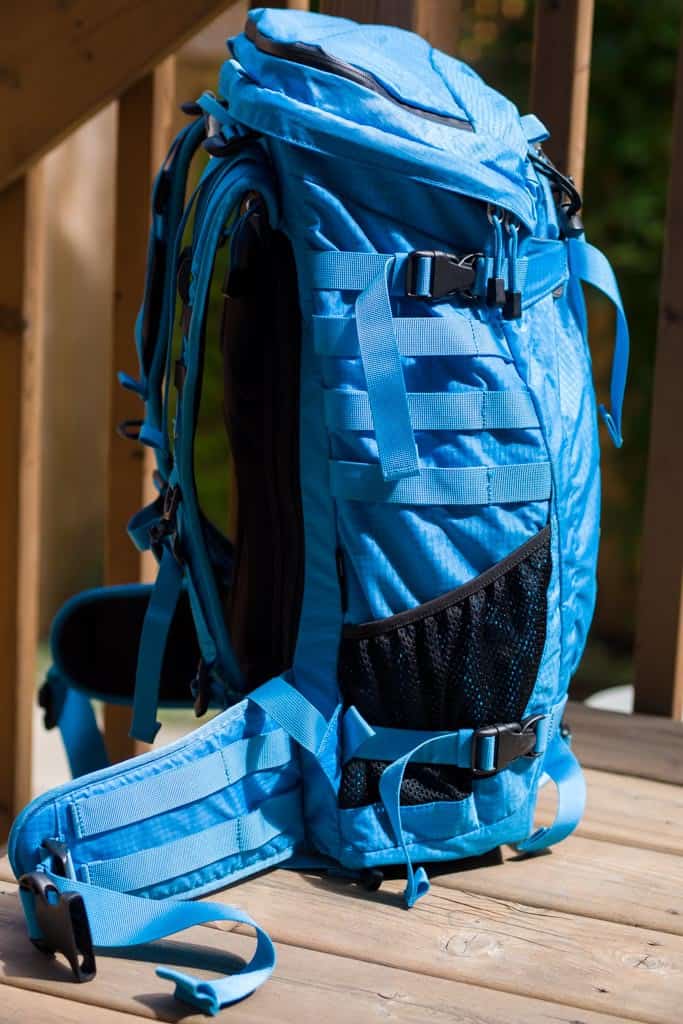
- MOLLE attachment system to be used with add ons like the Navin
- Tons of hooks, rings, straps, cords and clips for miscellaneous attachment of stuff
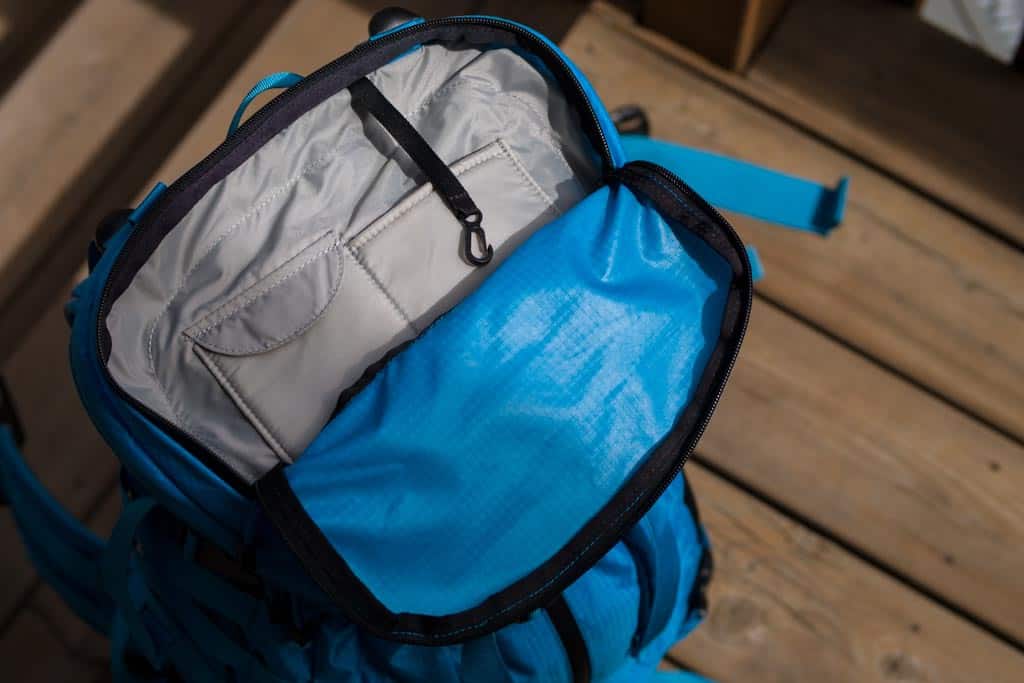
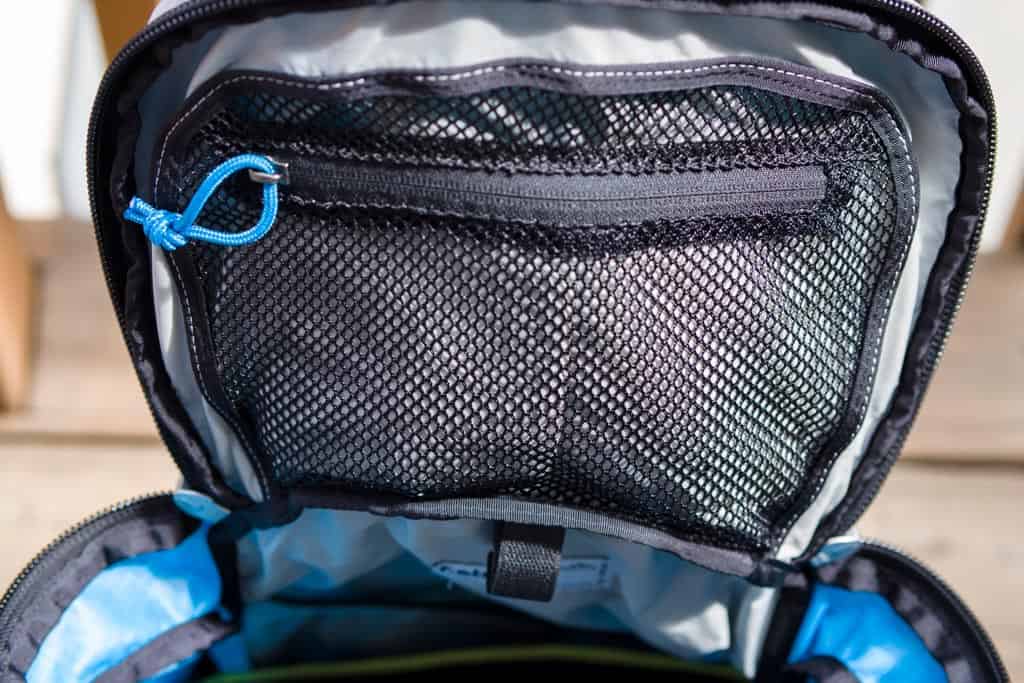
- Lots of pocket space for storage of various camera or other gear
- Designed with photography in mind so having side slots for tripods
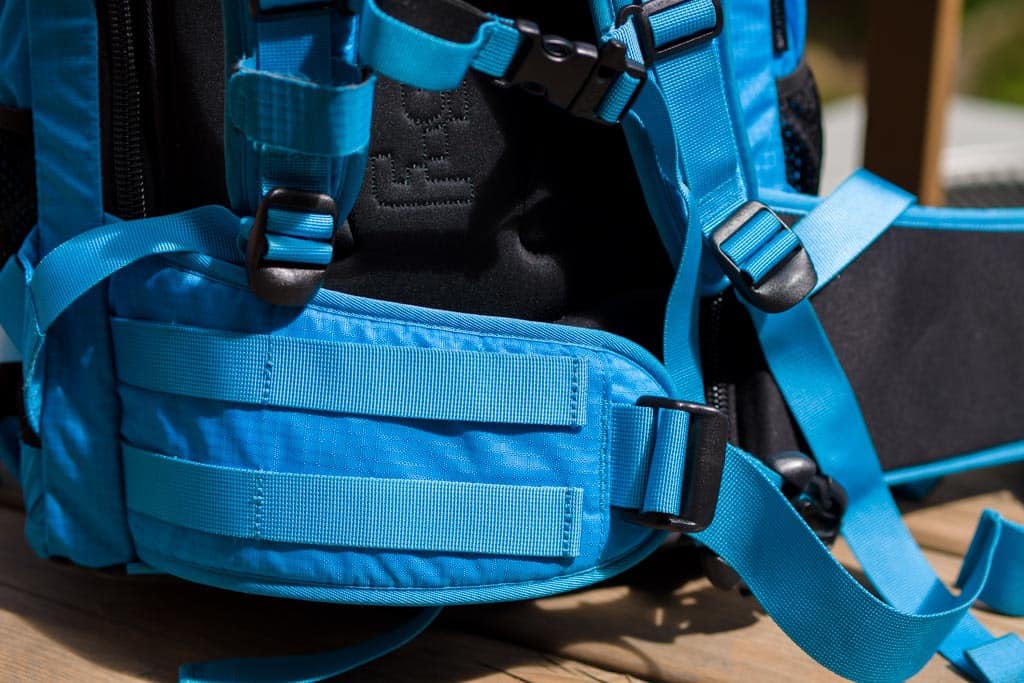
- Designed for the outdoors as well with bungee cords to hold hiking poles, Hepalon (thick rubberized) base for extra waterproof-ness and abrasion protection when placing on the ground, as well as the ability to strap on a skis
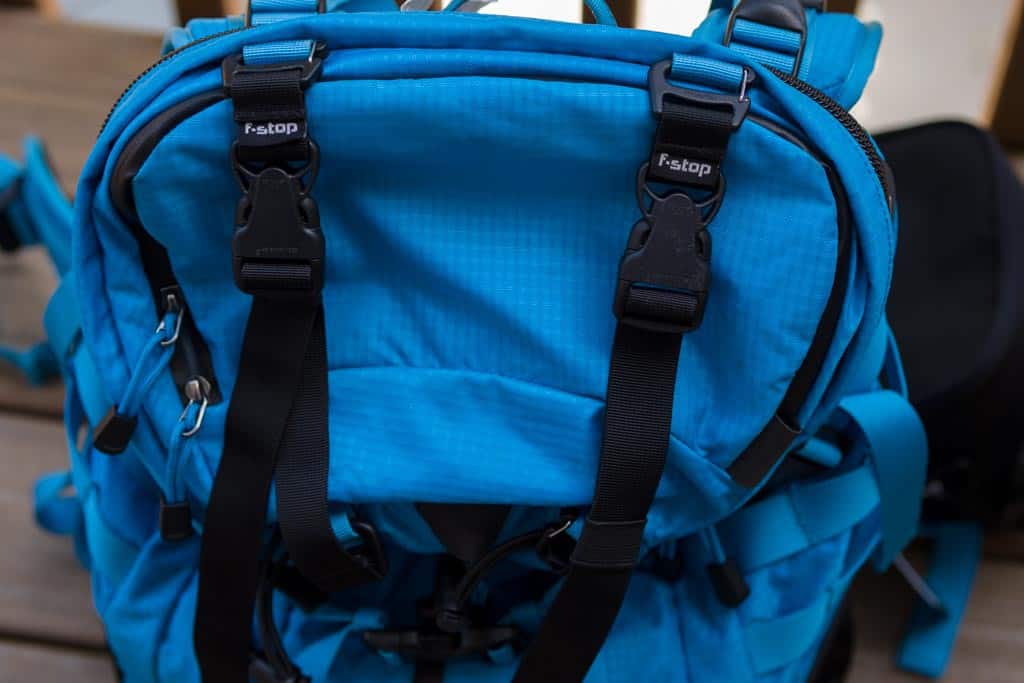
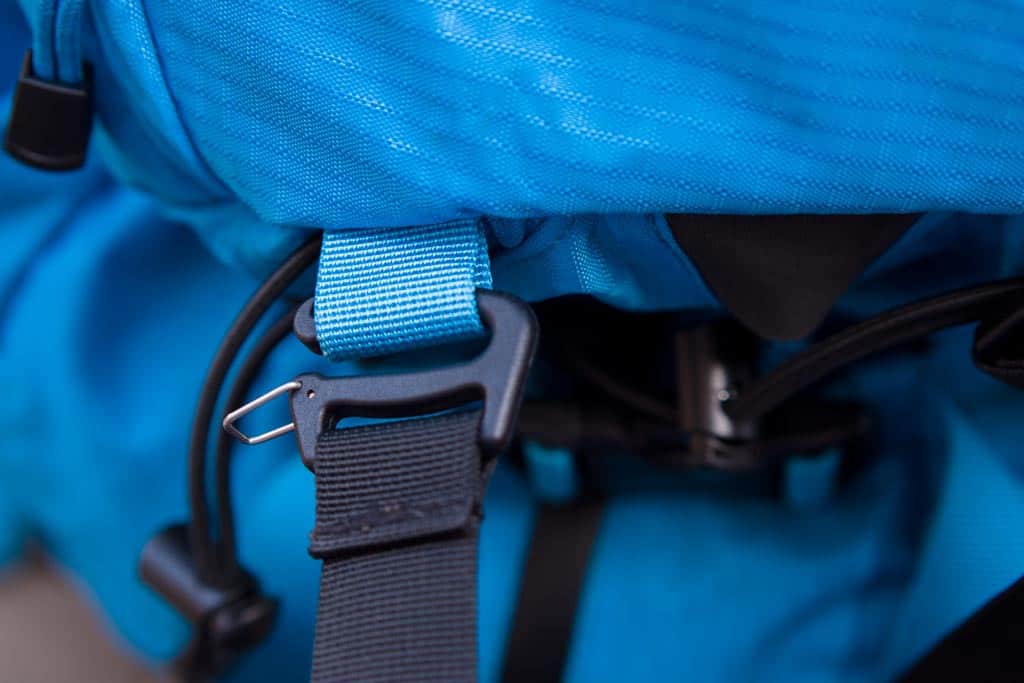
Here are a few detailed photographs of the original f-stop Loka.


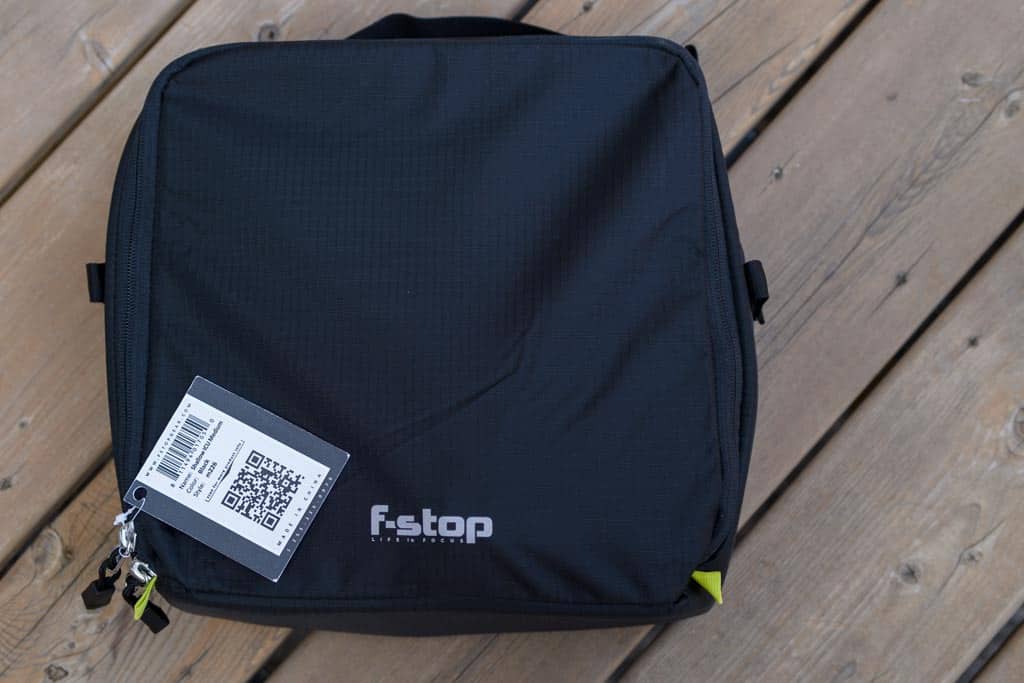
ICU
Okay so what’s this ICU business? So this is one of the big value propisitions of f-stop backpacks. Most of the Mountain Series is built upon this idea that the bags themselves are just a shell. To be able to hold camera gear, you need to purchase an ICU of your choosing. The advantage of this model is that you can pick the size of ICU that suits your needs. Things range from large to small and thick to shallow.
With the ICU, it’s fully removable so you can use it as a standalone module to carry camera gear, or you can fit it into a different bag (preferably f-stop as well) depending on your trip needs.
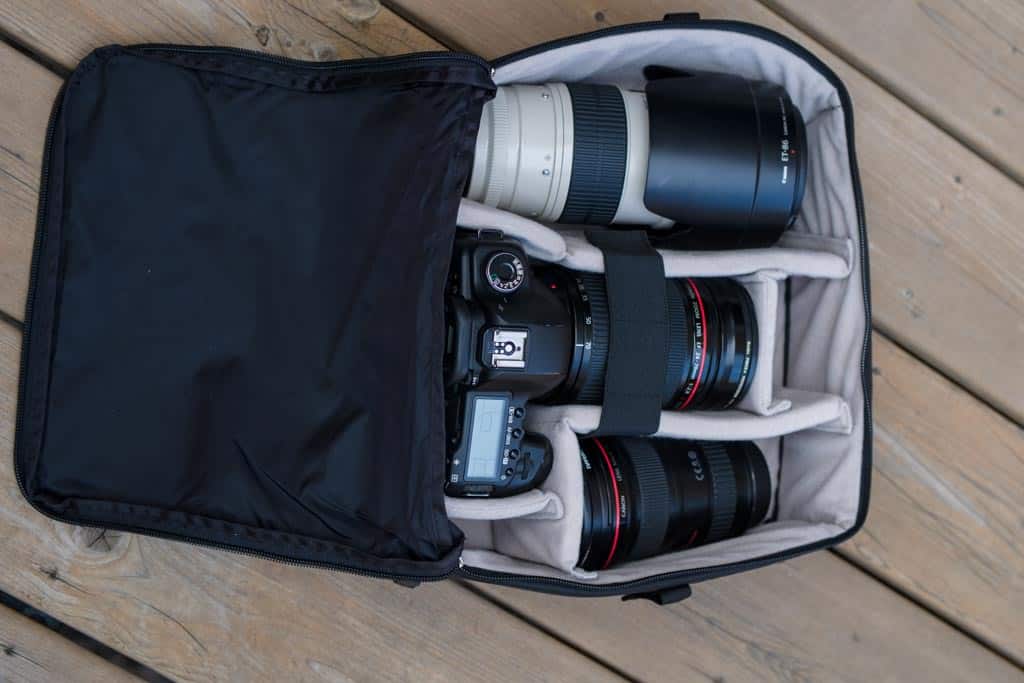
The ICUs are designed more or less the same way as a lot of other camera bags out there. It’s a square or rectangular internally padded box that has adjustable velcro dividers that allow you to design any layout that you desire. They also come with nice elastic pieces that velcro over the different dividers to really help keep your gear in place.
I know I know, why isn’t my Micro Four Thirds gear in there? My last trip to Utah and Arizona was with my DSLR gear and I hadn’t really moved things out since so that’s why it’s still in there. With M43, I probably could’ve gotten away with a small shallow ICU but hey I wanted the flexibility of handling both systems.


So one thing you’ll realize with the Loka is that it is back side access. That means that you have to take off the backpack, put it on the ground to access your camera gear. It’s designed this way because it makes sense when you’re carrying gear for long distances, your gear is most protected this way and I get that. A lot of the other heavy duty bags out there for cameras are done in the same way.
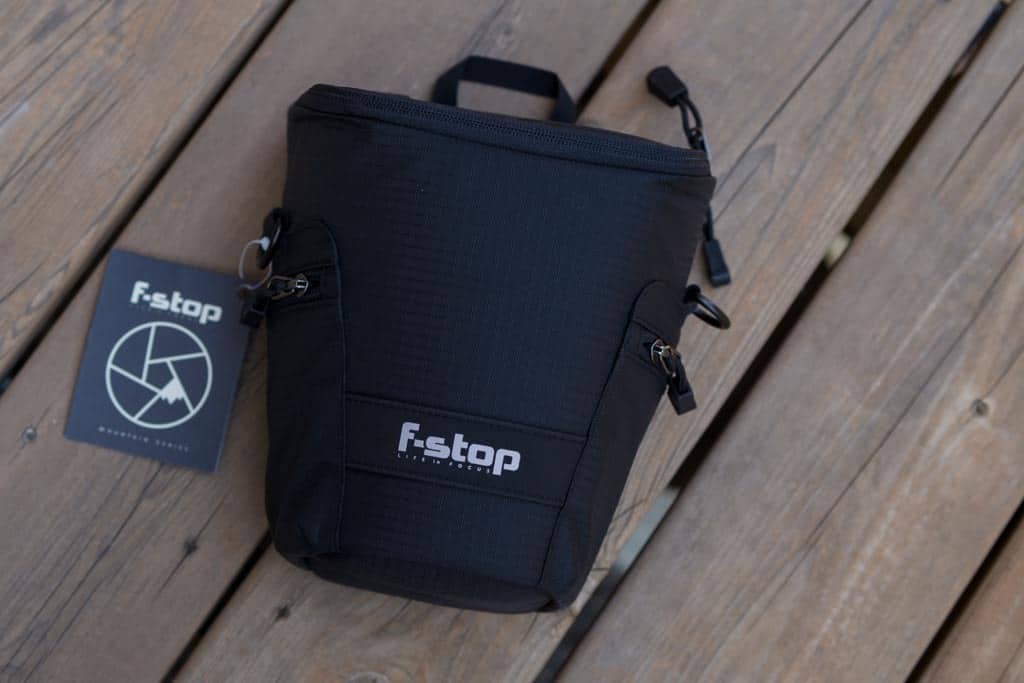
That being said, the one drawback of this is that there’s no way to access your camera gear when you’ve got the backpack on your back. For me this was an issue especially because I knew I’d want to take photos on the fly. That’s how I ended up with a Navin to go along with everything.
Specs
- Designed to accommodate up to a pro-sumer body, mounted to a Pro-wide angle zoom lens (13cm long)
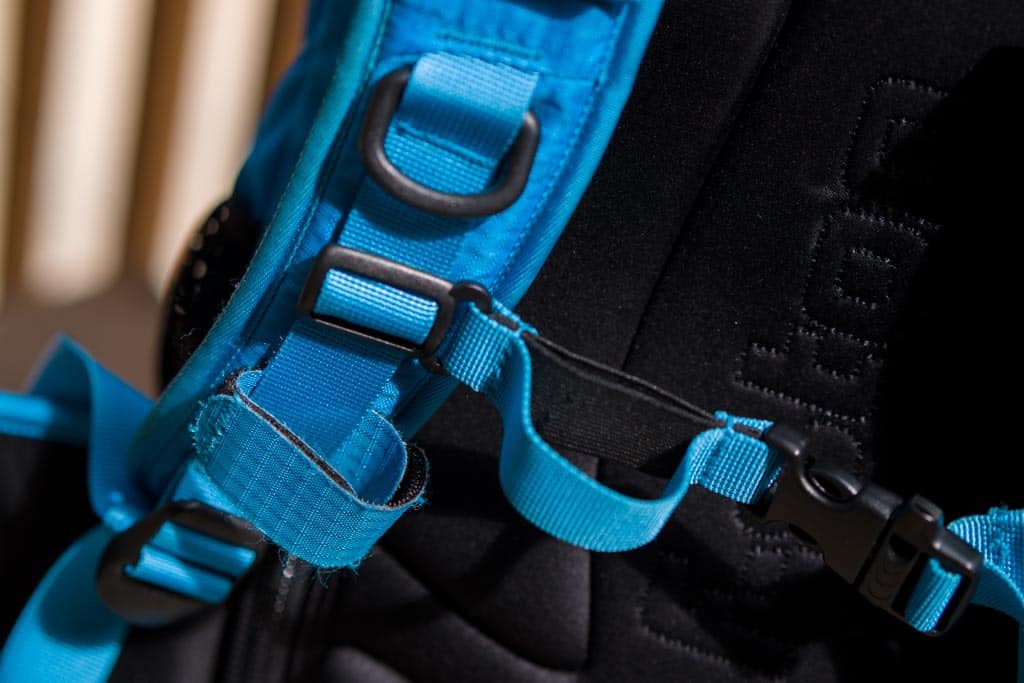
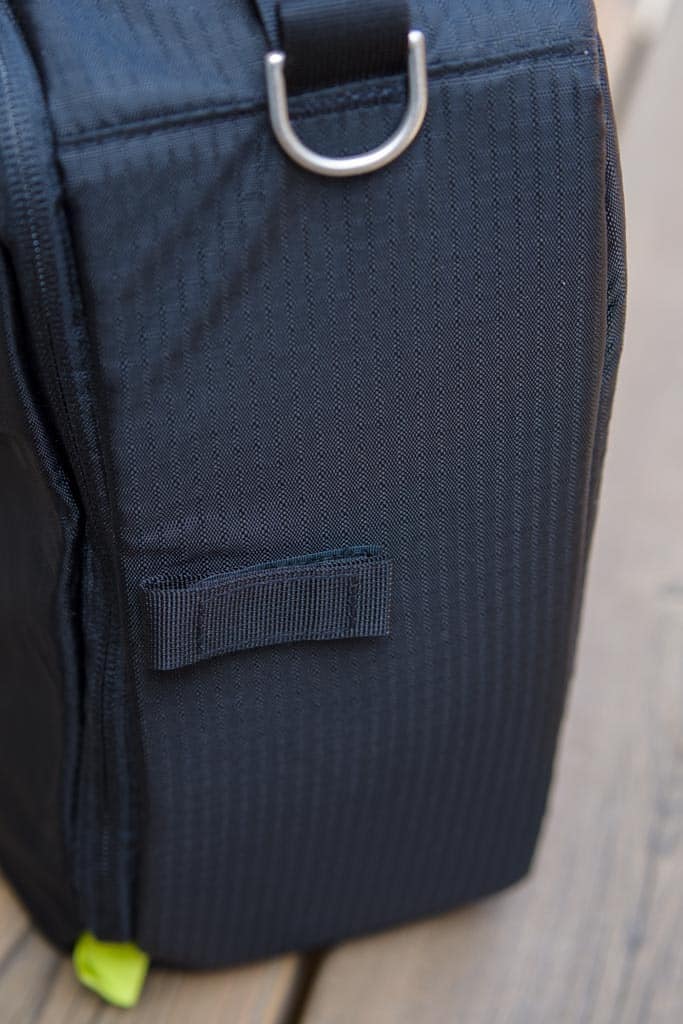
- Two (2) D-rings accept optional shoulder strap
- Accepts optional GateKeeper system for chest mounting
- MOLLE attachment system allows users to attach to belt or backpack side panel
- 8mm foam padding
- Weatherproof Hypalon® top panel
- Two (2) zipper access side pockets
- Lightweight
- Three mounting and carry options – waist, shoulder, chest

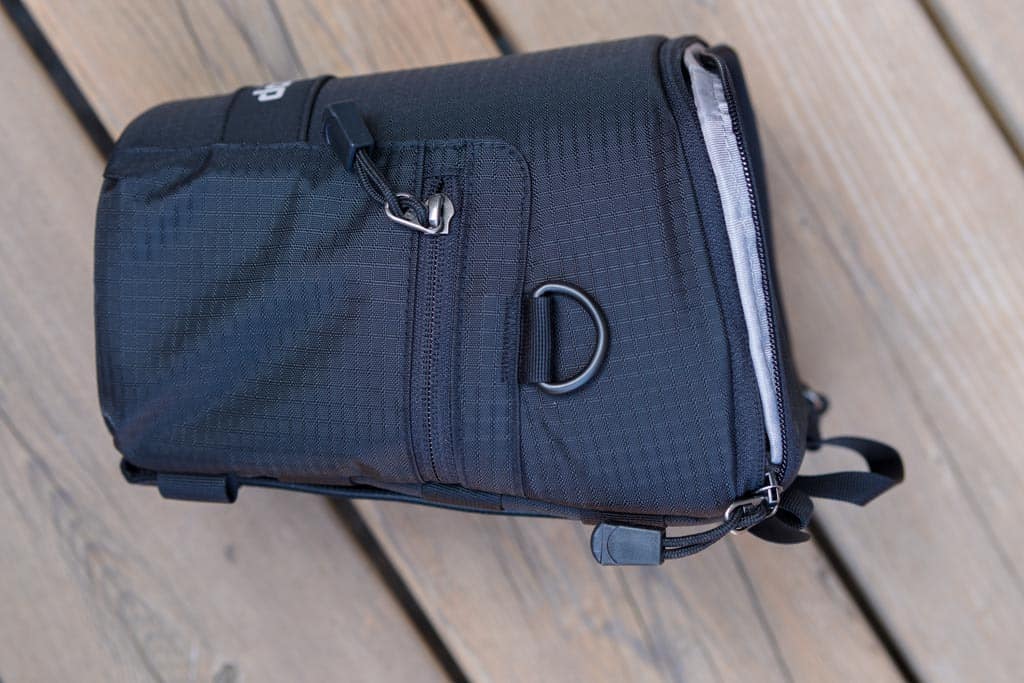
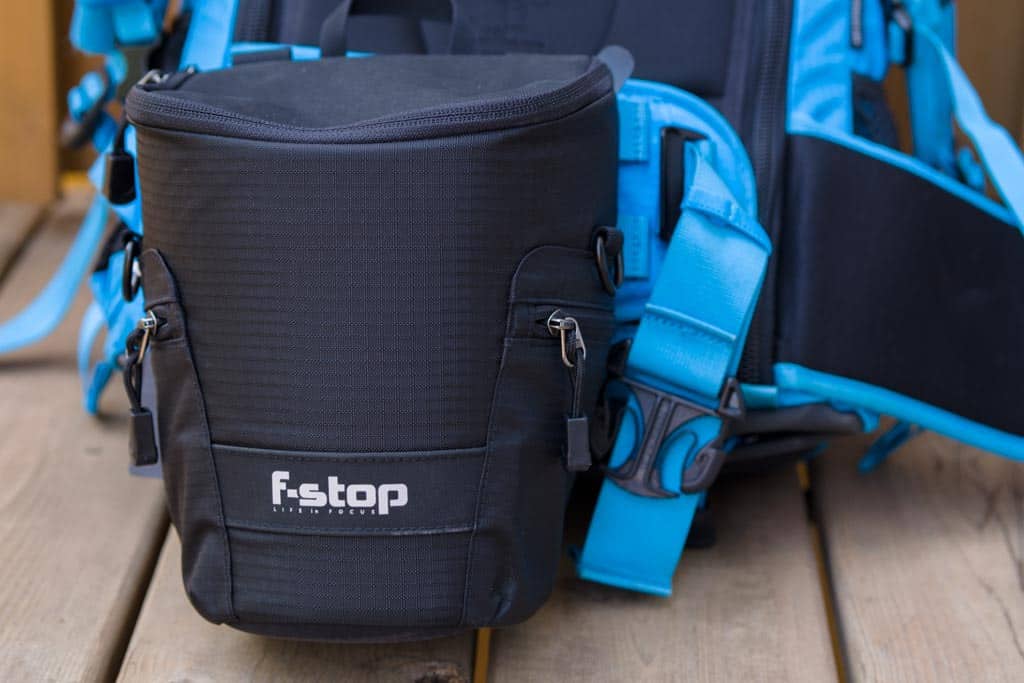
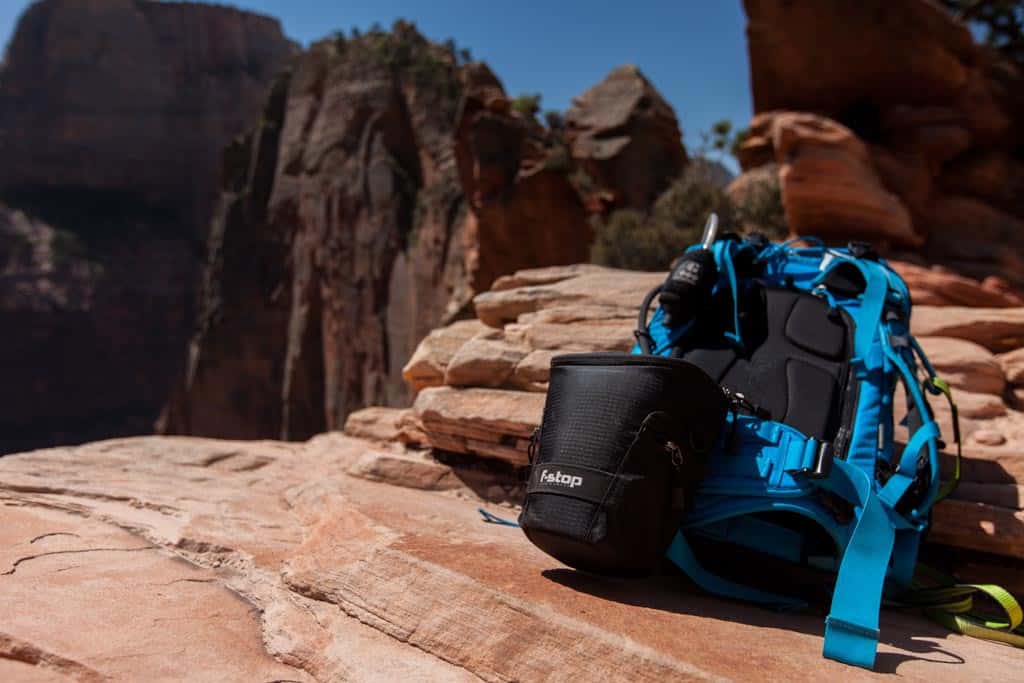
There’s not too much information about the Navin so I hope this’ll be able to clear the air on what it is and how it would work for most people.
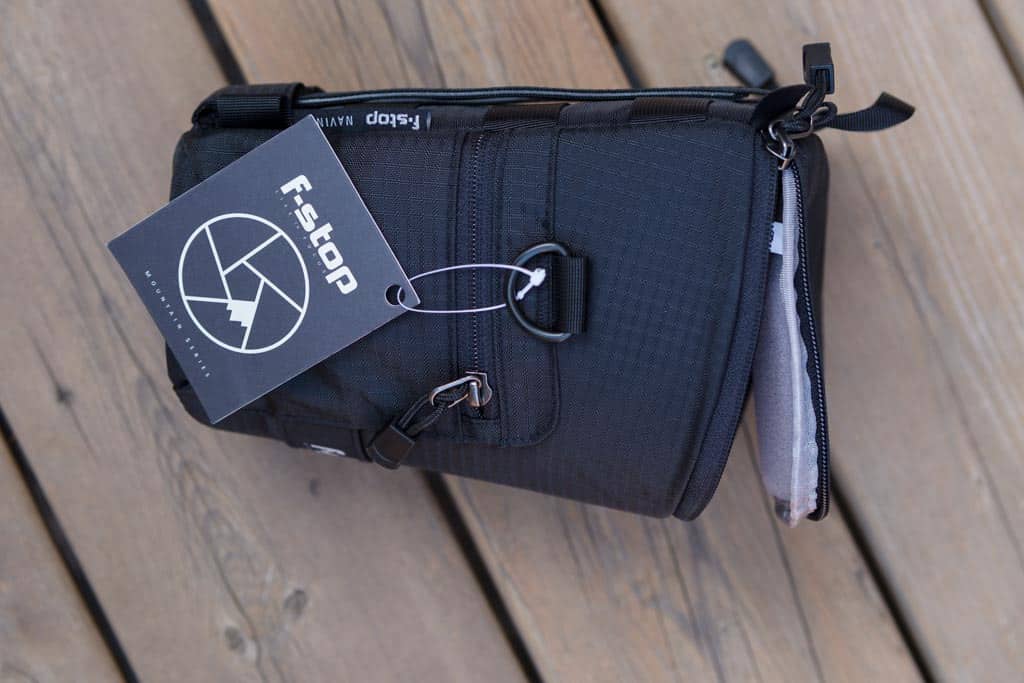
As a stand alone, the Navin isn’t particularly useful. It has a small little handle at the top that fits a few fingers through and that’s about it. It has some peculiar velcro straps in the back but that’s it. You have to buy another shoulder strap piece to make this work on it’s own as a mini camera sling bag but at that point i’d be looking at some sort of messenger.
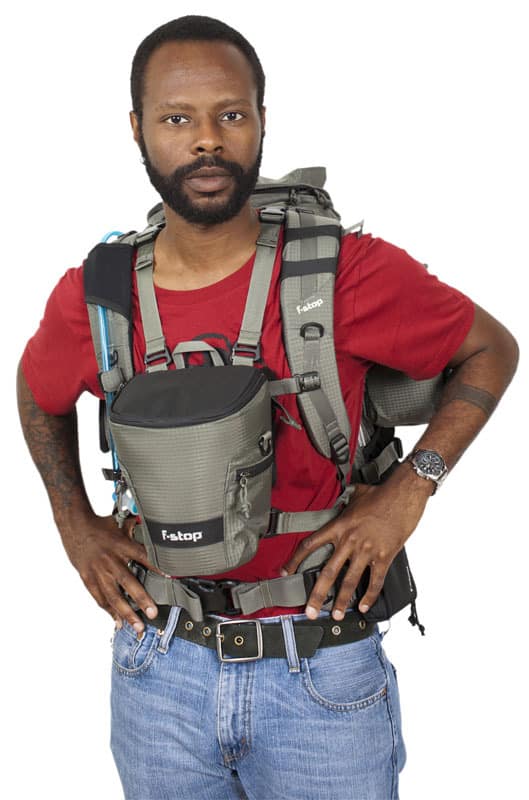
So how is this helpful? Well the beauty of the design of the whole Mountain Series is that they leverage something called the MOLLE attachment system. You probably have never heard of it but that’s because it’s used exclusively in military, police and fire departments. With words it’s hard to explain but hopefully these set of photos will explain how the Navin gets attached to a backpack designed for MOLLE.


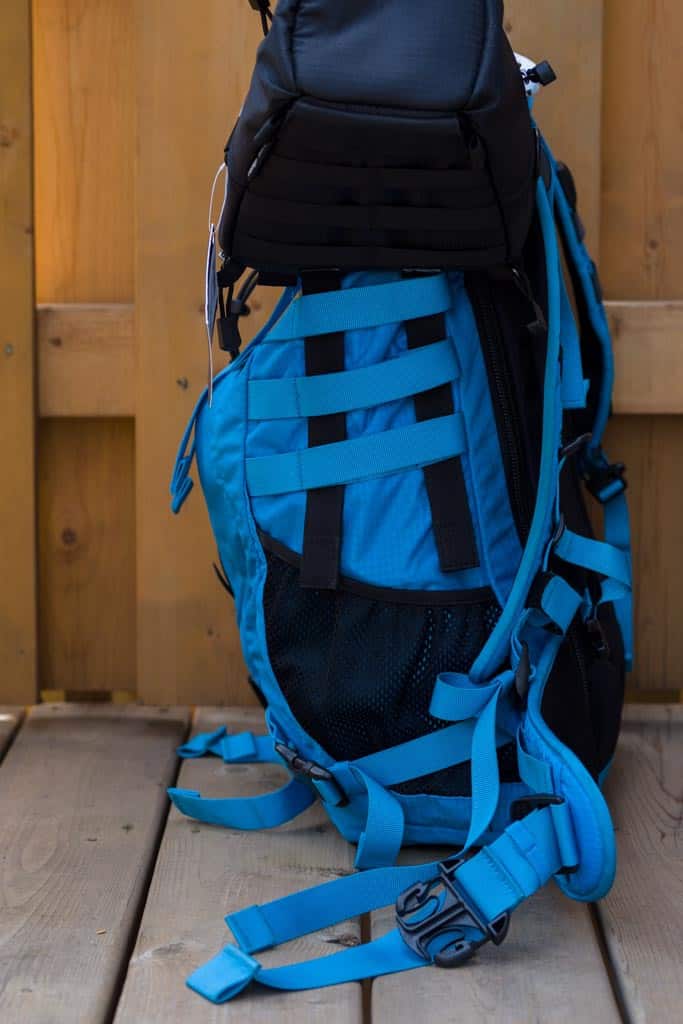

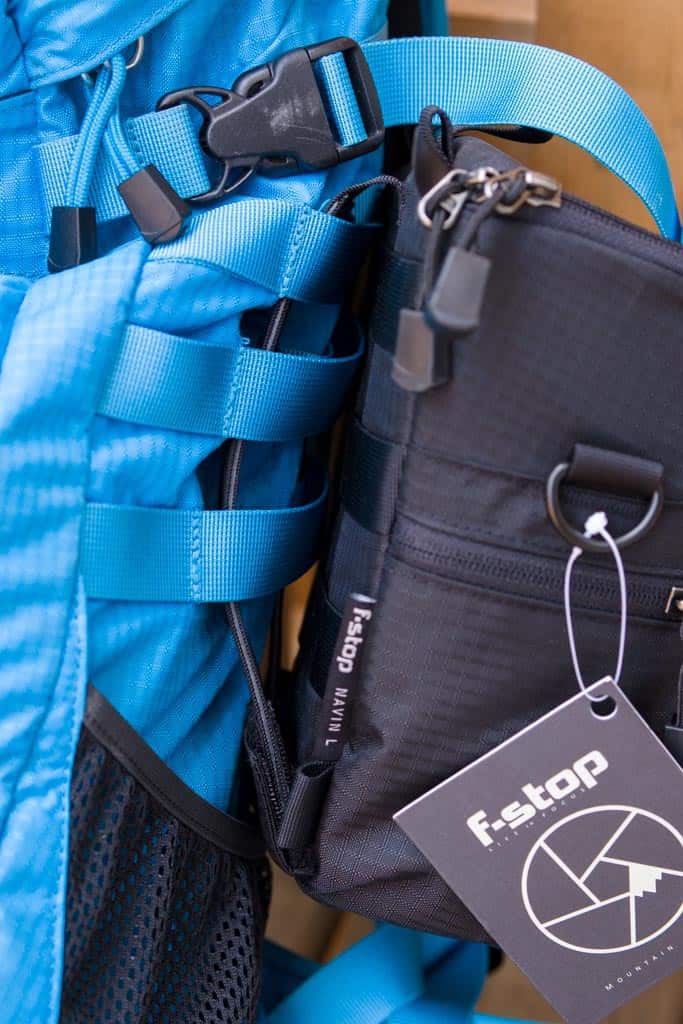
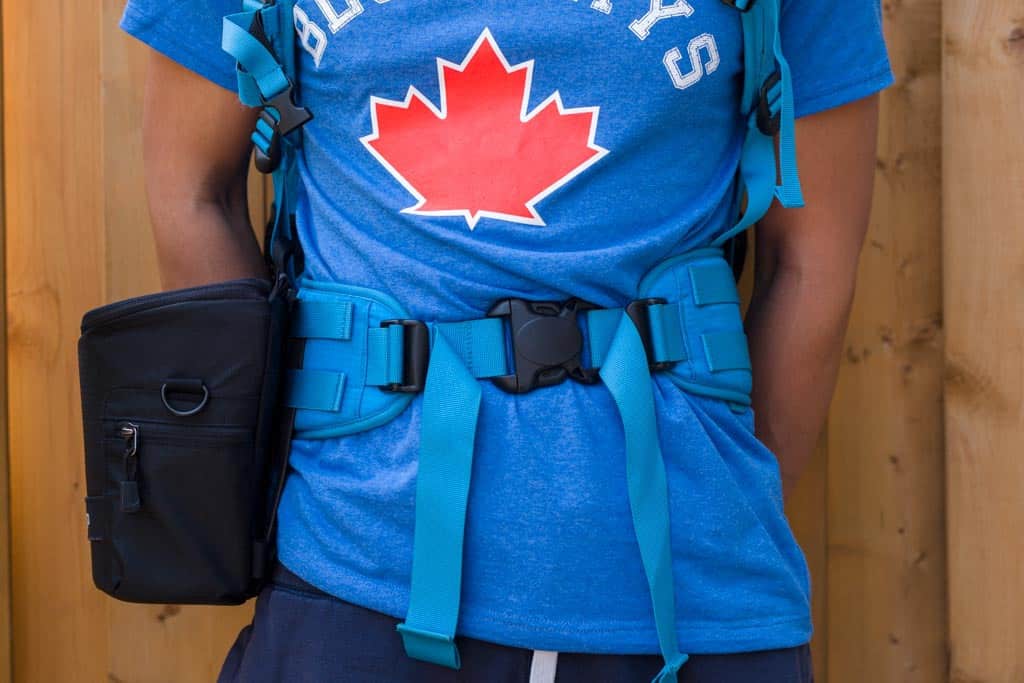


So with this you realize that the Navin can literally attach to a bunch of points on the bag. You can have it on the left or right part of the waist strap and also on the left and right of the side of the bag. There was another configuration that some used which involve the gatekeeper straps which I talk about below. I never got to use this configuration since having the Navin attached to the waist was way more convenient. This way, you can quickly access your camera as you’re hiking without strapping the camera around your neck and bobbling and bouncing around. The Navin was just like having a gun holster but for your camera.
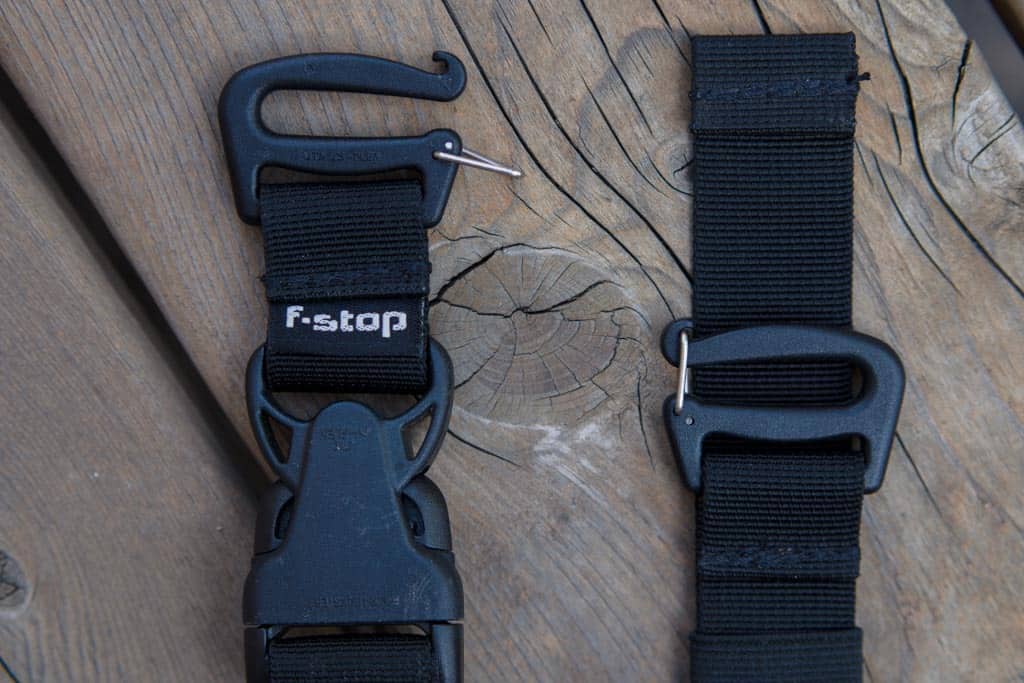
The Gatekeeper straps
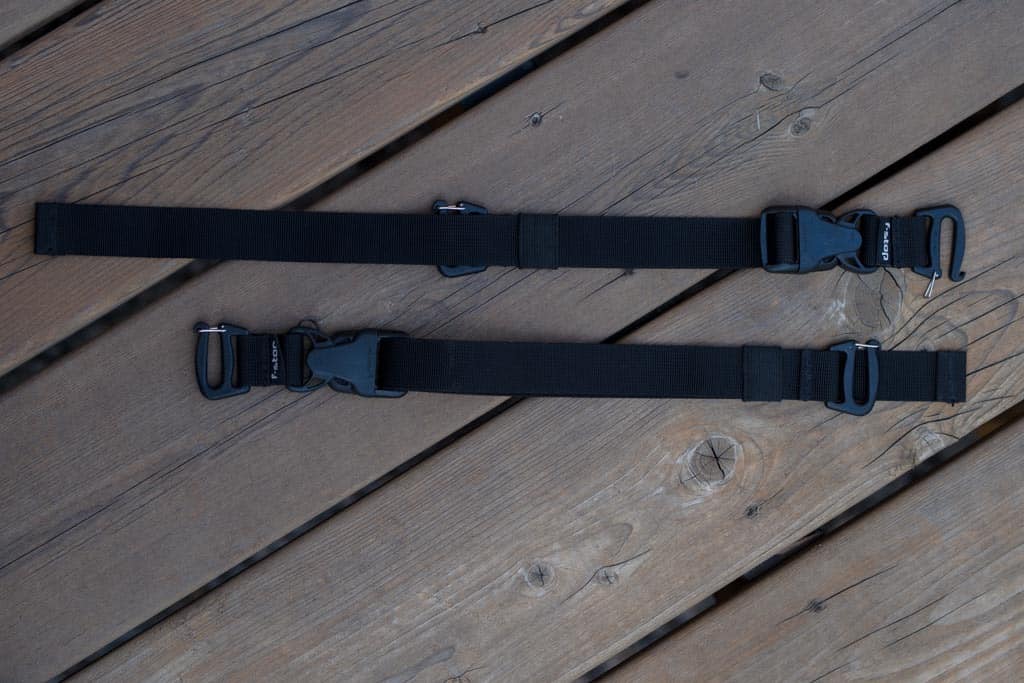
Gatekeeper straps are an add-on that allow you to create additional loops around the bag and to attach things like the Navin as depicted above. They allow easy mounting of tripods, snowboards and more to your f-stop backpack. These come in a large and small size which only vary by the length. My recommendation is to get the large one since you can cinch it down to the smaller size.
I originally purchased it to use the Navin in this way but realized that MOLLE was way better. As a result, I had these lying around. However, I then realized that I could use these to mount things on the top or bottom of my Loka. And that’s precisely how I used it.
Not having enough space in the backpack for a sleeping bag, I used the Gatekeeper straps to hold it down on the top of the Loka. They’re great all around as a way to strap something external down to the bag which is quite critical when you have a bag that’s not large by any stretch.


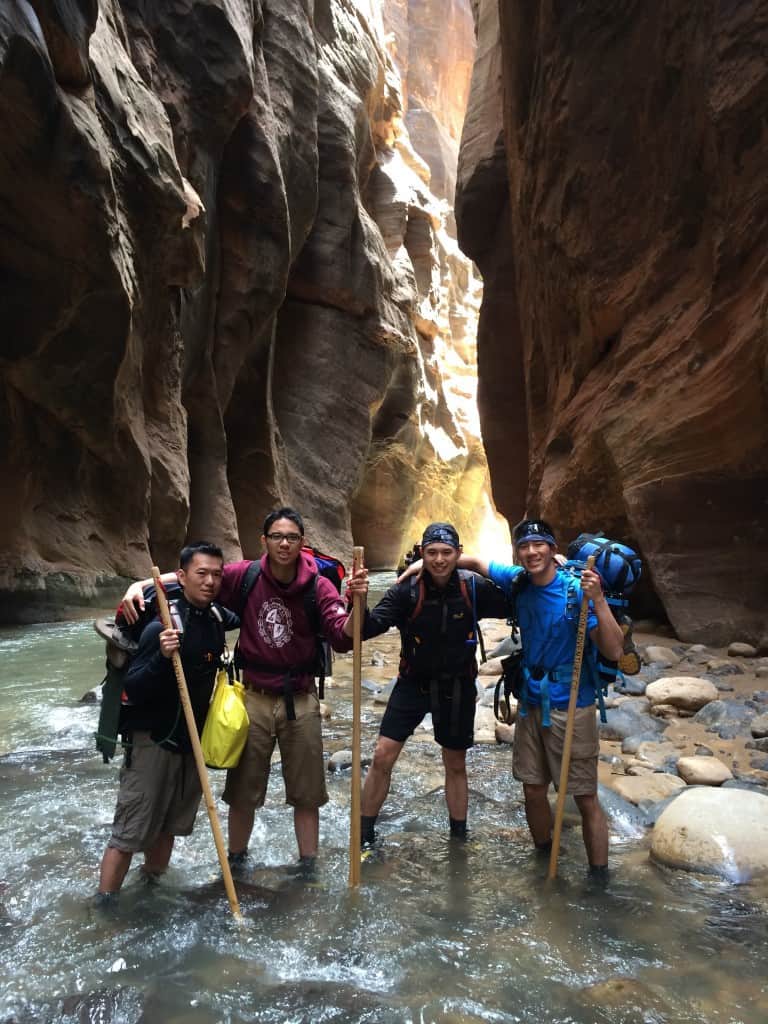
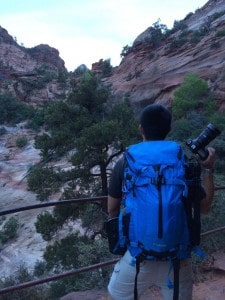
My review in the field
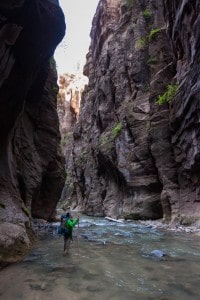
What better way to test a new camera bag than to go out west to Zion National Park in Utah and do the 2-day top-down Narrows hike and Angel’s Landing?
Quality
These things are built like a tank. I wasn’t particularly gentle on this bag during the trek. There were a number of occasions I dropped it on the ground and was scrapped against rocks and branches but after the trek, I didn’t find any evidence of rips or significant wear. The bottom of my pack took the brunt of the damage as you can see from the photos above. It’s definitely a bit roughed up and isn’t a clean black anymore but that’s what that special thick material is there for.
Quality is top notch in my opinion.
Versatility & Size

Man they sure built this with versatility in mind. Whether you’re hiking through a jungle, trekking down a mountain, or just going on a vacation, the Loka’s got you covered. What I really appreciated about the Loka is that it wasn’t single dimensional. The ICU did a brilliant job at keeping my camera gear safe but around it, I could pack in my clothes, food, camping and survival gear.
You do have to keep in mind that this is not a huge backpack. My friends had 40+L bags and were able to squeeze in more than me but as long as you pack strategically and bring only the necessities, you can easily handle a 2-3 day hike. One thing I realized as I was packing for this trip that I probably couldn’t use this backpack in the same way I would use a backpacking backpack. The ICU just takes up too much space in there and unless you go ultra light like I did, it’s going to be tough to keep a week’s worth of travel stuff with you.
Weight wise, I definitely weighed in a lot lighter than all my buddies. There’s no extra weight in the backpack itself where there doesn’t need to be.
Here’s what I was able to carry:
- Keen Newport H2 Sandals dangling off the side
- Big Agnes Fly Creek UL2 tent
- Navin attached to the right waist strap
- Suisse Sport Adventurer Mummy Ultra-Compactable Sleeping Bag
- Rollei carbon fiber tripod
- GSI Outdoors Halulite Minimalist with super portable burner and Light My Fire Titanium Spork
- Thermarest NeoAir Xlite Sleeping Pad (Regular Size)
- Miscellaneous carabiners
- Adventure Medical Kits UltraLight & Watertight .7 Kit
- Geigerrig Hydration Engine
- Clothes (rain jacket, base layer, drifit shirt, underwear)
- Toiletries
- Camera Gear (Canon 5DMK2, 24-70mm, 16-35mm, misc stuff)
- Headlamp
- Quick dry towel
- Sea to Summit Ultra-Sil Pack Liner for internal waterproofing
Yeah it can hold quite a bit.
Comfort
Comfort wise, there was just enough padding and the chest and waist buckles really help keep the weight distribution tight to the body. That being said, I could definitely feel the fatigue around my shoulders after 15 hours of hiking but that’s going to happen with any bag you have. Back support was good as well but it would’ve been nice to have a ventilated back like my Gregory backpack.
I did notice that because I was keeping my 5DMK2 DSLR in the Navin that the waist strap was definitely digging into me as the day wore on. It was a great set up in terms of being able to pull out the camera on a whim but I will be honest and say there was some discomfort there at the end of day 1 on the Narrows hike.
Experience
Overall, I have to say that I enjoyed using the pack quite a bit. I could pack in everything I wanted, get access to all my essentials when I needed it and most importantly gave me the peace of mind around my camera gear.
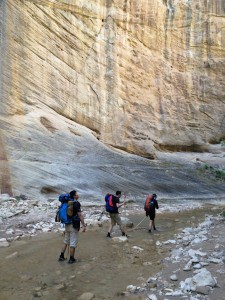
The Narrows is a bit of a special case because you’re in ankle to knee high water the whole time and so I did have to think about waterproofing. I would call the bag water resistant at best and so to add an extra layer of protection I did buy a pack liner for the interior of the bag.
The difficulty with having a pack liner is that it becomes a bit of a hassle to access your ICU because it wraps around that too. Every time I would basically have to unroll the liner and pull it down on the back side of the bag to access the ICU. This was a constant struggle I was having during the hike because I wanted to protect my camera gear from water but at the same time wanted to have it out and ready to shoot the beautiful canyon we were winding around. At the end of it all, I said “F that” and kept my SLR in the Navin for most of the trip. There were a few hairy water crossings where I did pack it back in but once it was over, I pulled the camera back out into the Navin.
At first, I was going to have my sleeping bag at the bottom of the bag but realized that wouldn’t be smart with the potential of having waist high water so I ended up putting it at the top. The nice surprise out of all this was that with it at the top, I thought it was going to obstruct top access to the interior of the bag but because of the flap design, it wasn’t a problem. With the sleeping bag at the top, it does obstruct use of the top outer compartment of the bag so keep that in mind.
The side pockets of the bag in combination with the straps were perfect for locking the tent and tripod in place. I didn’t have any issues with those things falling out or feeling imbalanced while I was hiking.
Price
Being the high end product that it is, it also commands a high price.
- The bag itself is $279 USD
- Medium shallow ICU is $79 USD
- The Navin is $59 USD
- 2 large Gatekeeper straps are $15 USD
- Large raincover is $22 USD
Before you know it you’re paying a total of $454 USD.
And then if you’re a Canadian like myself, tack on shipping in exchange and it balloons even more. I was lucky enough to find stock in Hong Kong and when I ran the numbers after conversion back to CAD, I was paying a little under $400.
Pros and cons
Pros
- Built extremely well and designed to be used in rugged environments.
- Lots of customizability options which is awesome (MOLLE and ICU)
- MOLLE attachment system is genius. Would love to see more products and third-parties leverage this.
- Does a fantastic job in protecting your camera gear.
Cons
- Ultimately what will deter most people is the price. It’s definitely on the high end of things and for most you’ll have to justify whether the cost is worth the use cases of the bag.
- High cost comes from the fact that you have to buy so many little small add ons just to get going. What frustrated me the most was that the gatekeepers and rain cover were extra. WHY??
- f-stop’s supply is just really bad. Every time I check, they’re always out of stock. So it’s good they’re getting a lot of demand but it’s frustrating if you want to buy directly from their online store (which is why I jumped on it in HK).
- Stand-alone, the Loka does not provide easy access to the bag. You need to place the bag on the ground, open it up and grab your gear. If you need to pull the camera out on the fly, this may not be the bag for you or you will need to invest in something like the Navin.
Bottom line
This is a great outdoor camera backpack for up to 3 days. Perfect for those that are going to be doing some hiking and require something a bit more rugged and versatile to not just store your camera but hold other essentials. It’s expensive but if you can make use of it, it’s going to delight you like no other camera bag.
What you should read next
